SREEPADA RAVIKUMAR
ASSISTANT PROFESSOR
M.V.S.R. ENGINEERING COLLEGE
Assembling 8051 programs with KEIL Compiler
Students are advised to go through the following illustrative tutorial for programming 8051. First learn how to execute simple ALP for addition using KEIL cross compiler. Depending on the availability of time I will be posting application specific ALPs. However you don't feel the requirement of any guidance once you learn the basics of 8051 programming. There is a huge collection web pages on 8051 projects. Explore them before you start your own project.
Download and install KEIL Trial Version from here:
Note: Trial version supports the program of 2KB size
only ! This is sufficient for doing a mini project.
An ALP to write and execute addition.asm
MOV A, #05
MOV B, #06
ADD A, B
END
1. Click on KEIL icon on desktop to see following window.
project -->new Mvision project
(Each Keil project contains one or many files.)
 2. click on "Atmel" to expand it.
Select AT89C51 then click "OK"
This means the program you are going to write is for AT89C51 micro controller manufactured by ATMEL.This is what device selection. You may use AT89C51 (8051) or any other micro controller but you should write compatible code in the program. You can see the list of devices manufactured by various companies programming of which can be done by KEIL compiler.
Presently we are using AT89C51 which is one of the 8051 flavour. Our program is just a sample addition program which adds two numbers stored in A and B registers. For this no device selection is required but we go as per the procedure to make things clear for us.
2. click on "Atmel" to expand it.
Select AT89C51 then click "OK"
This means the program you are going to write is for AT89C51 micro controller manufactured by ATMEL.This is what device selection. You may use AT89C51 (8051) or any other micro controller but you should write compatible code in the program. You can see the list of devices manufactured by various companies programming of which can be done by KEIL compiler.
Presently we are using AT89C51 which is one of the 8051 flavour. Our program is just a sample addition program which adds two numbers stored in A and B registers. For this no device selection is required but we go as per the procedure to make things clear for us.
3. Give Some name to your new project. and save it.
Presently I am giving the project name as "arithmetic". Because I want to write four programs viz. addition, subtraction multiplication and division separately and would like to include all of them in the same project.
Every device has its own startup code. This code is neccessary to initialize the device each time it is switched-on. The following window asks you whether such start-up code should be copied to your project. So when you complete your project which is a collection of several files (one or many) unknowingly this start-up code will also be a part of your project. When you burn your program into 8051 this start-up code will also be burnt.
4. So click "Yes"
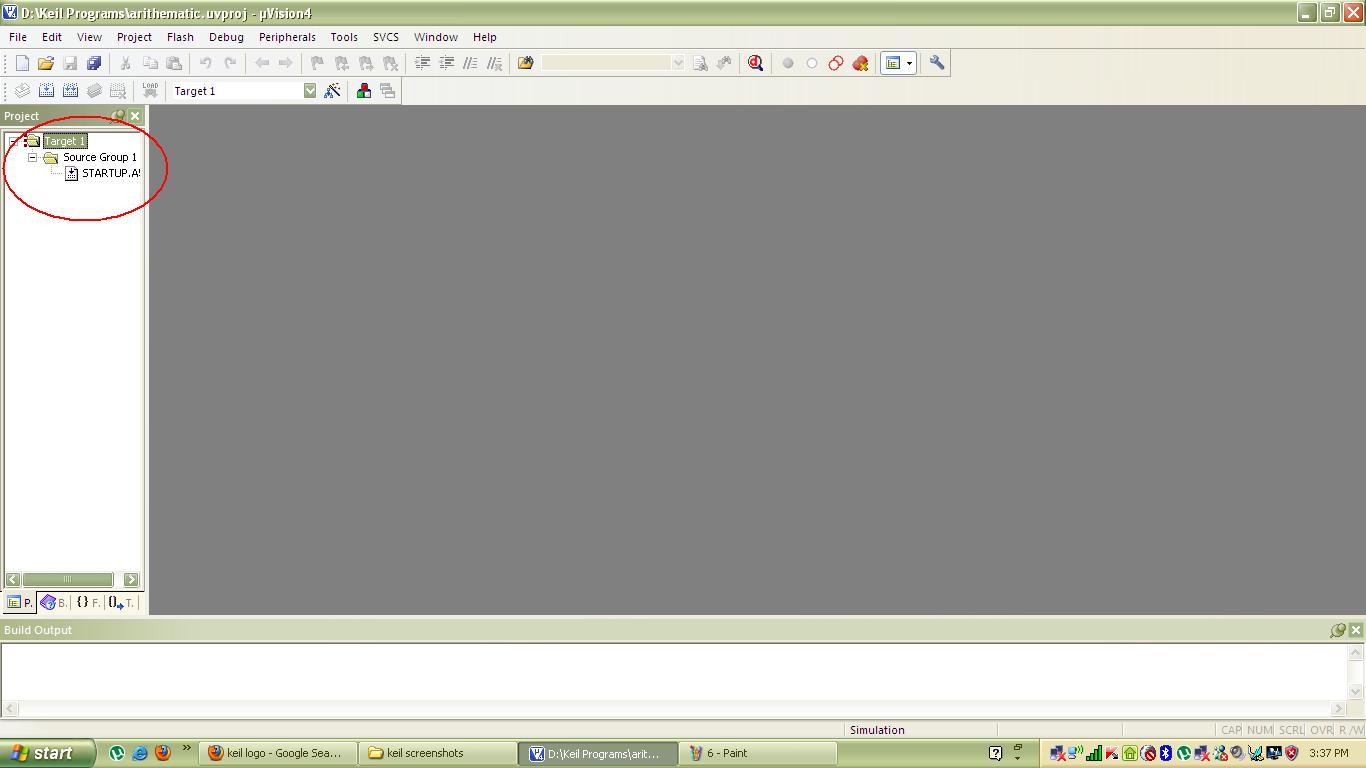
The left side coloumn in the following window shows the list of files in your project. You could see only one file i.e. STARTUP.A51 (start-up file for AT89C51)
Now you have to create an empty file into which you write your first assembly program.
The following window illustrates this.
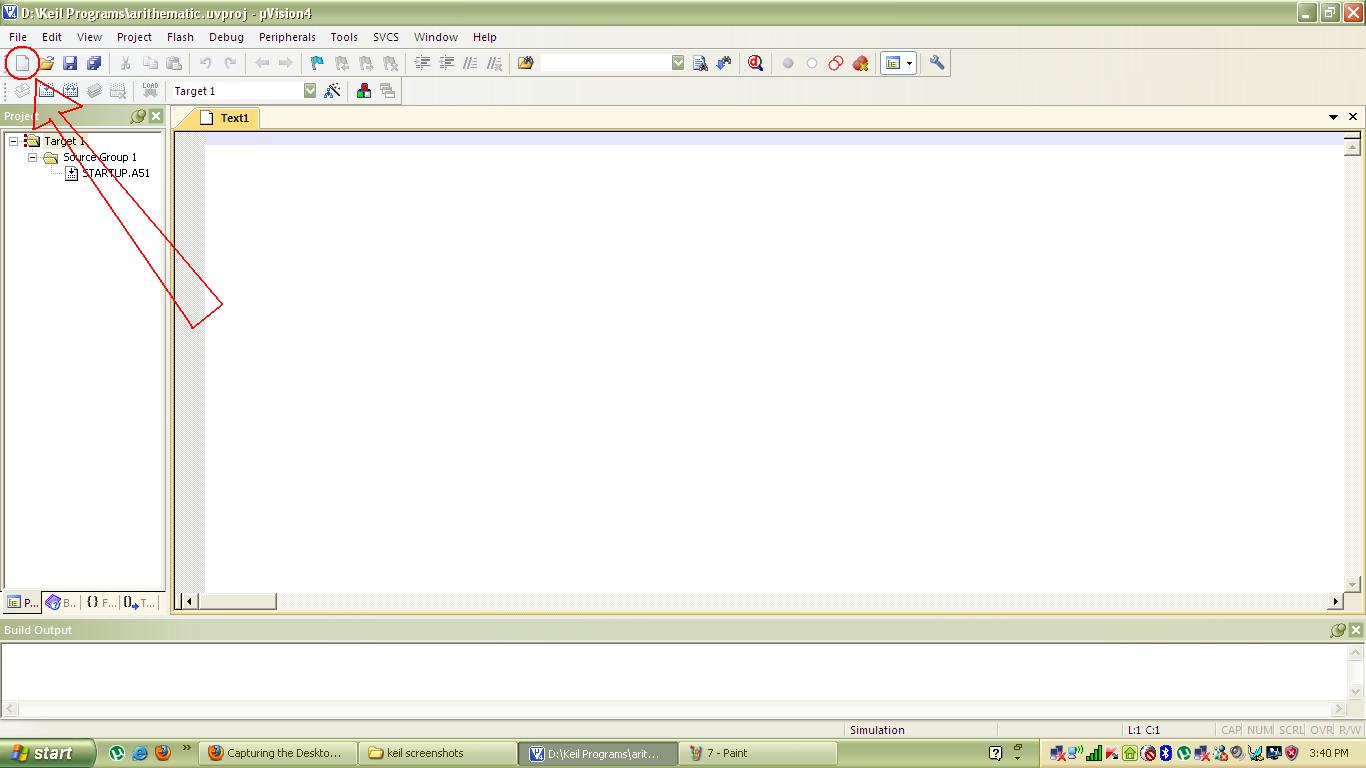
5. Click on the create new file icon shown below.
An empty new file can also be created by "File--> New"
A new file can be used to write either assembly program (with .asm extension) or C/C++ program(with .C extension)
6. write the code as shown below
(Note that blue text is for comments)
7. Save the file using File--> Save (type addition.asm)
Note that color text appears only when you save the file.
8. Next step is to include the addition.asm file into your project.
To do so, right click on "source group 1" and click on add files to group source group 1"
9. Select "addition.asm" then click on Add.

 2. click on "Atmel" to expand it.


